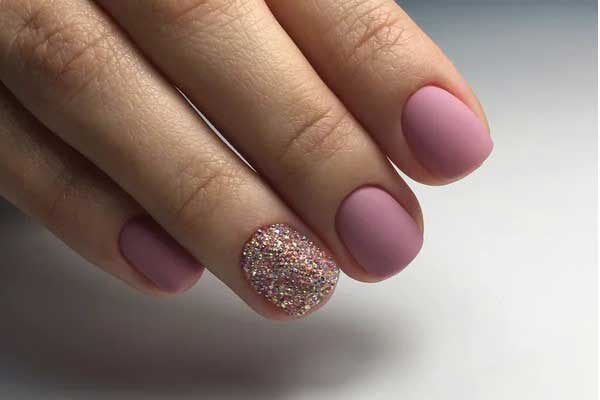
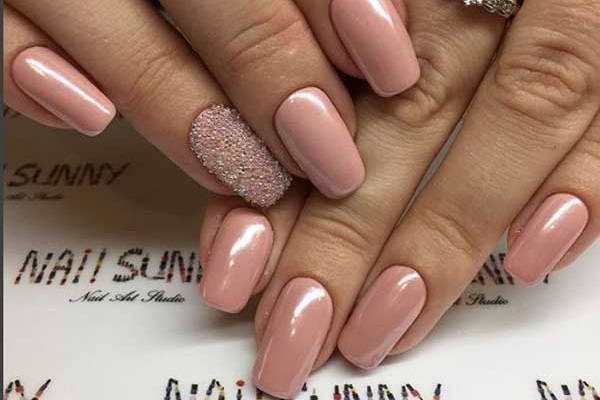
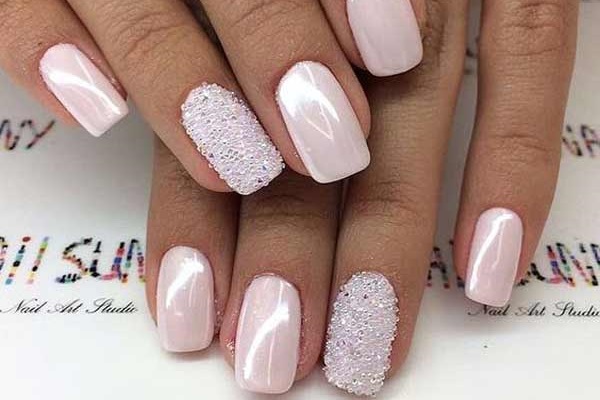
Nail masters are constantly updating materials for nail decoration. One of the latest trends in nail fashion is crushed crystal. Small Sparkling Pixie Crystals allow you to make a fabulously beautiful design. He attracted with his appearance not only nail service masters, but also girls who do manicure on their own.
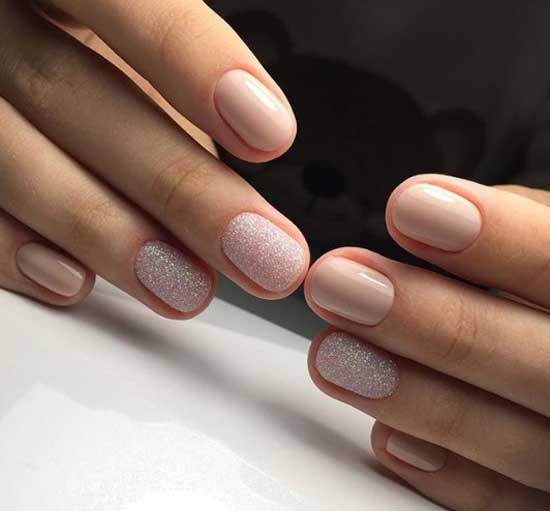
Swarovski crystal chips
It is not surprising that the first, this interesting material as a decoration for marigolds, was proposed by the Swarovski company. Thanks to the brand, crystal pixels have exploded in popularity. Later, other manufacturers expanded the range of this nail accessory, which made it more affordable in terms of price.
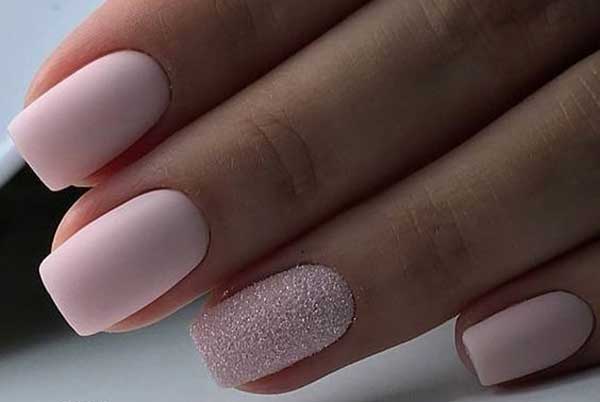
Today at the disposal of designers:
- colored and transparent tiny shiny crystals;
- tiny crystals with the so-called 3D effect;
- crumbs of saturated color, forming a thick stain on the nail plate;
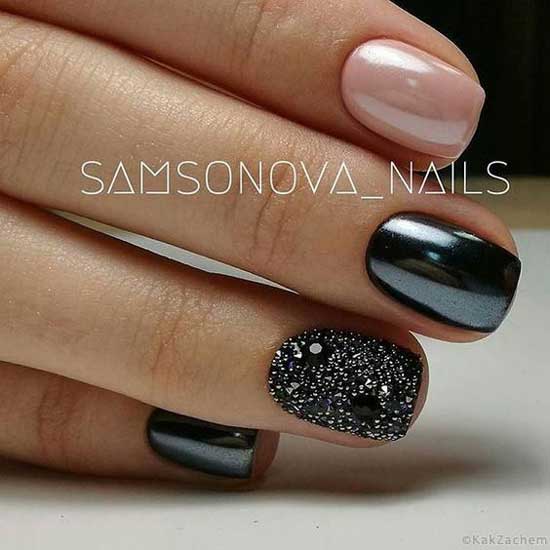
Crystal chips in nail decor
Crystal chip sets include crystals that match each other in color. In order to make the design truly unique, you can pick up sets with crystals of different sizes. In addition, they can be independently mixed with each other and with glass broths.
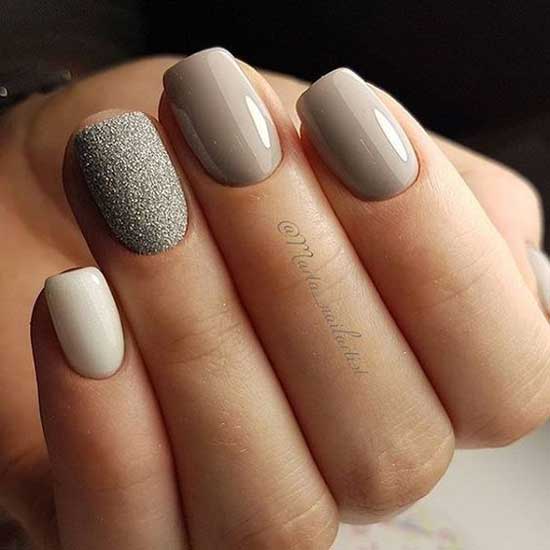
Crystals adhere perfectly to the smooth surface of the nail, thanks to their miniature size and compacted bottom, thereby the nail turns into one beautiful sparkling gem.
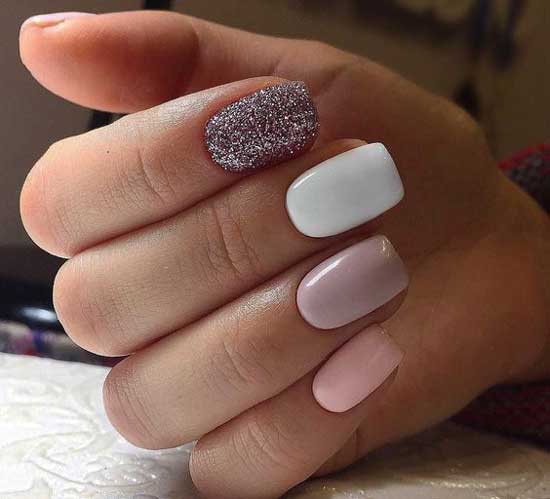
How the design is created
Applying crushed crystal does NOT require a whole arsenal of specific tools and devices. The specialist only needs a sense of taste, concentration and imagination. Thanks to the ease of handling and extraordinary brightness, crystals have become a favorite accessory for both professional nail designers and home lovers of manicure.
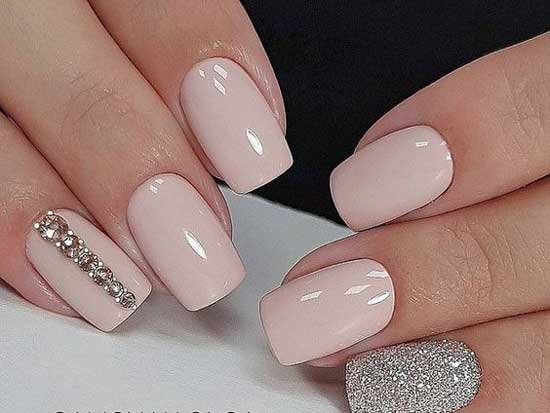
You can make a nail design with crystal elements without even having special skills in working with gel or acrylic, and without special training in manicure.
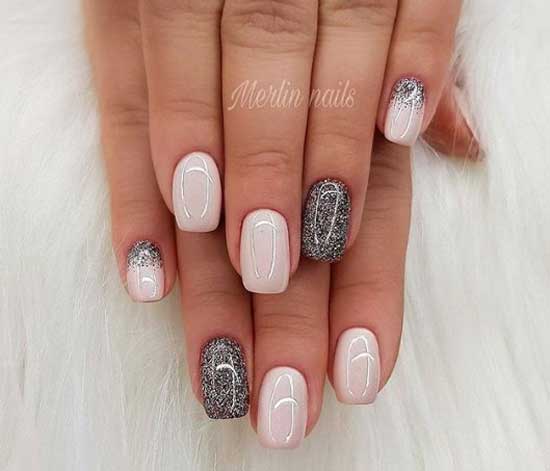
You can perform a manicure painting using regular varnish. To do this, you need to clean the nail, on which immediately after that you need to apply the 1st layer of varnish, and then dry it thoroughly. The second layer of varnish serves as the basis for attaching crystal fragments, therefore it does not need to be dried.
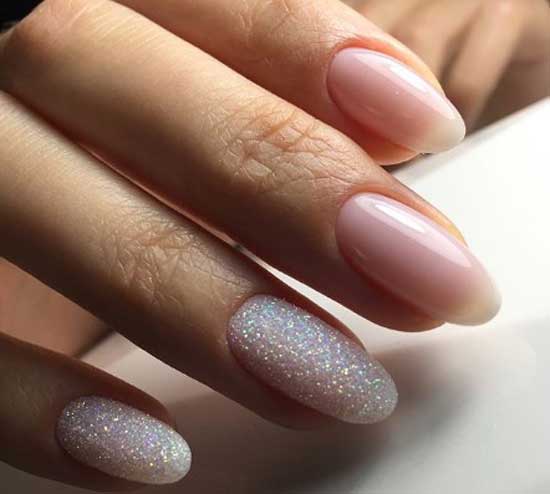
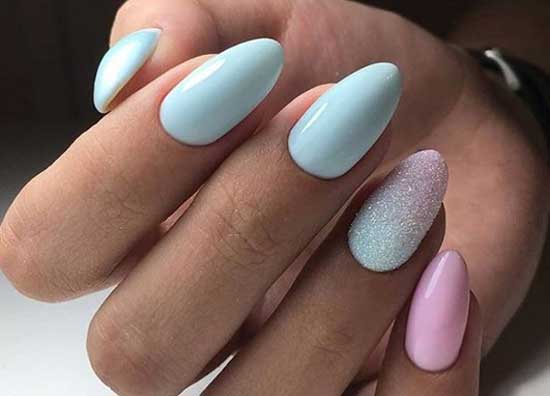
The crystal chips should be quickly spread over the surface of the nail according to the design idea. The crystals must be gently pressed and the varnish must be allowed to dry completely. You can also cover the nail with a colorless varnish, which will allow the crystals to hold on longer and delight you with their shine.
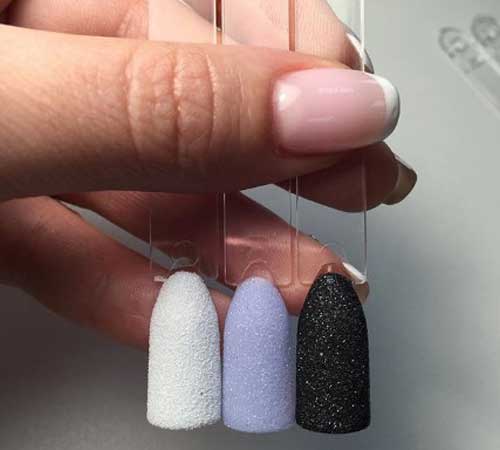
However, if the durability of a manicure is important to you, then you should pay attention to various gel varnishes, since ordinary varnish is clearly inferior to it in terms of durability. Then the technique of applying crushed crystal (when using gel polish) will slightly differ from the one presented above.
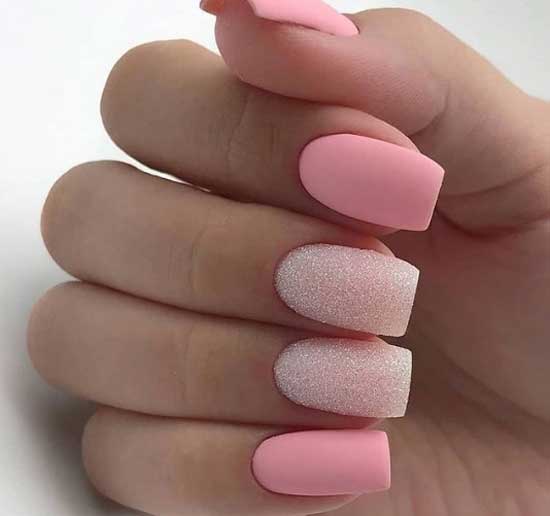
First, you need to wait until the first two layers of varnish are completely dry (using an ultraviolet lamp), and already shiny particles are attached to the final non-hardened layer. After that, the crystal elements are additionally fixed with a transparent gel polish. Then they are finally fixed using a lamp, where the varnish polymerizes (hardens).
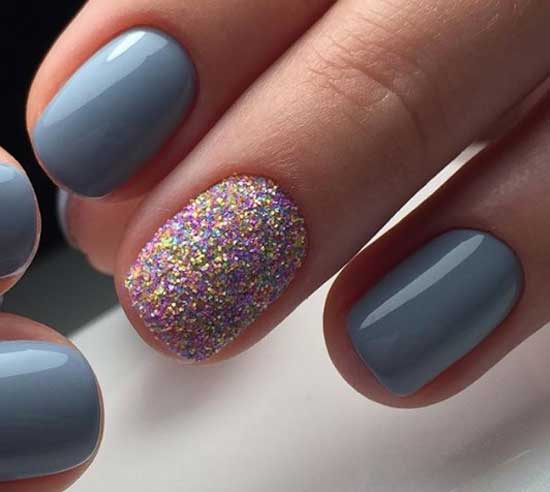
Crystal chips and french
French - goes well with crystal sugar.An orange stick or thin brush is great for working with fine crystals. Simple tools will help you carefully remove excess fragments, carefully fix the crystals on the nail.
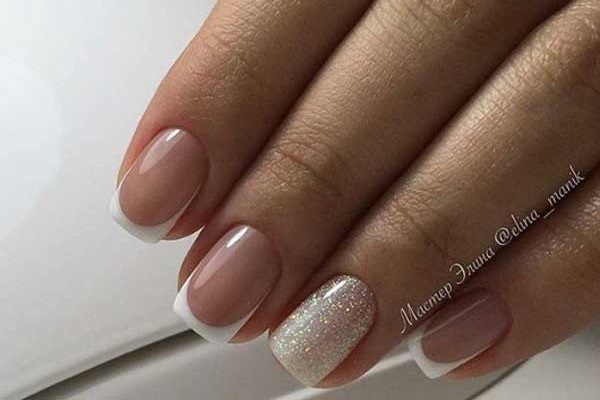
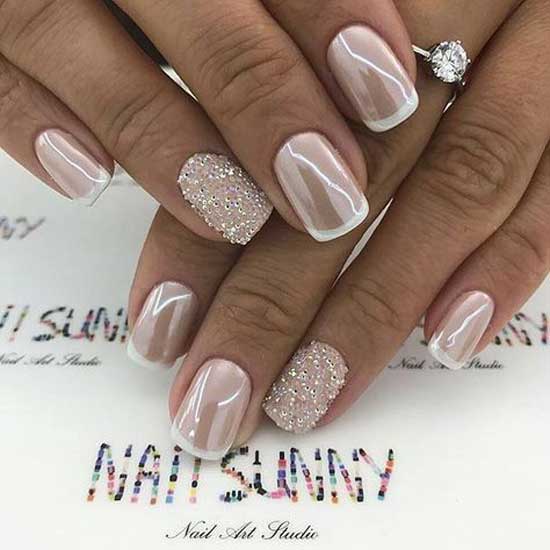
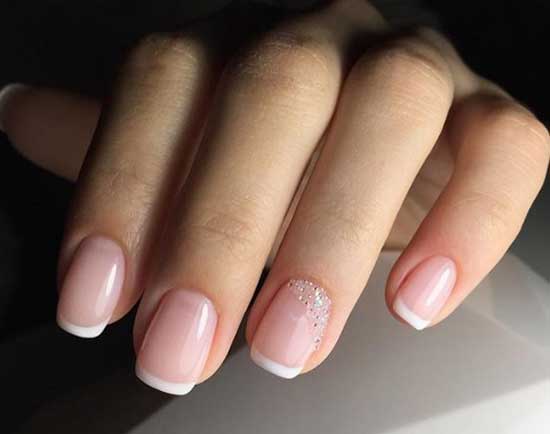
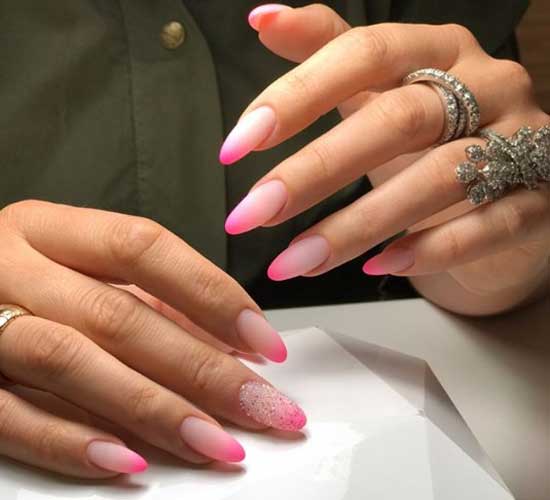
Swarovski pixels and matte finish
Both matte and glossy finishes blend beautifully with Swarovski pixels. It is best to do nail design over a flat, well-lit surface. So you can be sure that not a single sparkling crumb is wasted, the design will be neat.
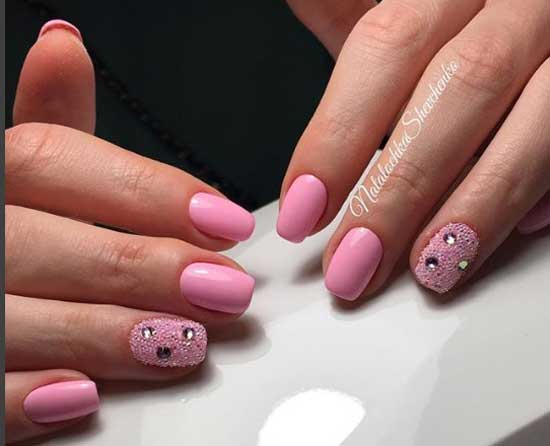
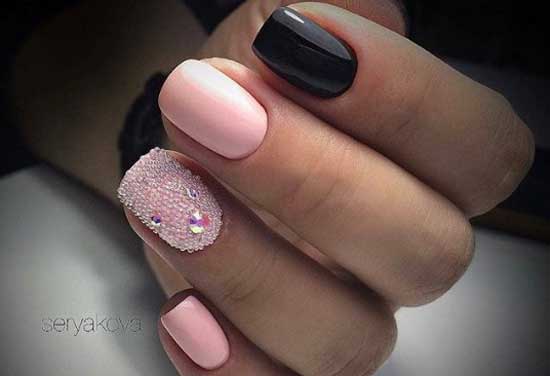
Crystal pixels and rhinestones
This is another original use of the smallest lenses in nail design. Experiment!
- Recommended by topic: thanks to these designs, you will be able to do your manicure twice as often.
- Use these polish colors to make your hands look younger.
